Category Archives: Snacks

THE BEST DARN CORNBREAD MUFFINS – GFree, Refined Sugar-Free, Fat-Free

Best Darn Cornbread Muffins (18) CROPPED

I really like cornbread.  There is just something about ending a cold day with a bowl of hot stew, chili, or soup and a side of cornbread.

When I was really young that meant opening a box of Jiffy corn muffin mix and as I got older my family transitioned to Marie Callender’s cornbread mix.  Let’s just say that Marie set the bar pretty stinkin’ high…that stuff is gooood!!!

When we found out that my daughter needed to go gluten-free I began purchasing pre-packaged gluten-free cornbread mixes and I have to say that I have just been tolerating them.  In my opinion I have yet to come across one that is good.  The mixes I have purchased through the years tend to be bland and DRY.

I finally decided to tackle the gluten-free cornbread monster and came-up with a recipe that I am really happy with.  The muffins taste like corn and honey and they are nice and moist.  To top it off there is no refined sugar and these moist muffins have NO OIL!!!

Problem solved.

THE BEST DARN CORNBREAD MUFFINS

Best Darn Vegan Gluten-Free Cornbread Muffin COLLAGE 2

INGREDIENTS – Makes 12 muffins

DRY
1 cup finely ground cornmeal
3/4 cup gluten-free flour mix (I used King Arthur)
1/2 cup blanched almond flour
1 tsp xanthan gum
1 tsp baking soda
1/4 tsp salt
 
WET
1 cup applesauce
1 cup creamed corn (8.5 oz. can…make sure it is dairy-free)
8.75 oz. can whole kernel corn (no salt added), drained (chop finely if desired)
2-4 Tbs honey (I prefer 2 Tbs) (to make vegan, use maple syrup or agave)
 .

Preheat oven to 350 degrees F (I used convection bake).

Combine the cornmeal, flours, xanthan gum, baking soda, and salt in a large mixing bowl.  Whisk to combine.

In a separate bowl combine the applesauce, creamed corn and honey.  Whisk together until fully incorporated.

Add the wet to the dry ingredients and mix well with a spoon until fully mixed.

Chop up the whole kernel corn until it is the size you prefer for your muffins.  Fold the corn kernels into the batter.

Line your muffin tins (grease lightly with coconut oil spray) and fill each muffin 2/3 full with batter.

Bake for 14-18 minutes (rotating half-way through) until golden brown and toothpick comes out clean.  Allow to cool completely. *

These muffins taste great straight out of the refrigerator.

.Best Darn Cornbread Muffins (26)

*Remember that homemade gluten-free baked goods taste best once they have cooled completely.  Straight out of the oven they tend to be gummy.

For a printable recipe click HERE.

3 Comments

Filed under Breads / Crackers / Muffins, Cake, Dessert, Gluten Free, Grains, Kid Friendly, Recipes, Snacks, Vegan, Vegetarian

CURRY-SPICED POPCORN

For this month’s Secret Recipe Club assignment, I was assigned the blog, Daily Dish Recipes.  Nicole is a mother of 5 teenagers (my hat’s off to her) who has been a food writer since 2003.

I decided to make Curry Movie Popcorn, which she made for another SRC assignment.  I found lots of wonderful recipes on her blog, but somehow I couldn’t get my mind off of that popcorn!

I took her advice and opted to add the spices to the pan prior to cooking the popcorn vs. pouring the melted oil and spice over the popped corn (which is the method she originally tried and didn’t like)…it worked like a charm!

While I generally stay away from oil, the coconut oil adds such a nice flavor and compliments the curry spice.  I did however eliminate the butter from the recipe because it wasn’t necessary.

This was so easy and quick.  I am already coming-up with other flavor combos…anyone want some spicy chipotle popcorn???

INGREDIENTS

  • 3 tablespoons butter (I omitted)
  • 2 tablespoons coconut oil
  • 2 tablespoons curry powder (I used 1 tsp Curry Powder & 1 tsp Garam Masala)
  • 1/2 tsp Celtic Salt
  • 1/2 cup (75 g.) popping corn

METHOD

Melt the coconut oil in a pan (make sure it is large enough for the popped corn).  Whisk in the salt, curry powder, and Garam Masala.

Add the popping corn and pop while shaking the pan to avoid burning.

Serve immediately.

10 Comments

Filed under Appetizers, Gluten Free, Kid Friendly, Recipes, Snacks, Vegan, Vegetarian

STRAWBERRY FRUIT ROLL-UPS

When I go grocery shopping and walk past the snack aisle I am always shocked by how many different fruit roll-ups there are, not to mention the fruit snacks.  Trust me, I understand how good they taste…like candy, but that us essentially what they are.  Have you ever looked at how much sugar they add?  My guess is that the manufacturers feel they have to add so much sugar because they are probably using fruit that isn’t truly ripe as the basis of their product.

I am so thankful that I have an Excalibur dehydrator.  They are pricey, but I eased some of the hurt by buying a Factory Refurbished model ($199 vs. $299) which still has a 10 year warranty!  I use my dehydrator a lot and have been using it a ton lately because there are such wonderful organic strawberries at my local farmer’s market.

Making fruit roll-ups couldn’t be easier.  Simply wash the berries, remove the stems, place them in your Vitamix high speed blender (I squeezed in an orange for extra flavor, however doing so is not necessary), blend until smooth, sweeten if necessary (you can use dates, maple syrup, stevia, honey),  and blend again to incorporate the sweetener.

Pour the mixture in batches on to your dehydrator trays lined with non-stick drying sheets, spread with an offset spatula (This tool is such a help…I first learned about this trick from Kristen Suzanne’s blog) as thin as you’d like making sure that it is evenly spread and there are no holes, and dehydrate at 125 until firm to the touch.  I spread my roll-ups to about 1/8″ and they dehydrate within 3-4 hours.  If you would like to keep the roll-ups “raw,” dehydrate at 115 degrees (it will take longer).  You can also make the roll-ups thicker, it will just take longer to dehydrate.

Once you remove the roll-ups from the dehydrator, allow them to come to room temperature and carefully peel them from the non-stick sheet.  Line the back of the roll-ups with parchment paper, cut them to size, and roll them up!  I store my roll-ups in glass jars.

Recently I have used this method to make a ton of different flavors; mango, pineapple, apple cinnamon, and white peach.  I was so pleasantly surprised by the pineapple fruit roll-ups…they were AMAZING!!!  I can’t wait to make my next batch and have been dreaming-up all sorts of flavor combinations.

*TIP – try to keep the roll-up “batter” as thick as possible and do not add extra liquid if possible.  You will find that certain fruits are less watery than others i.e. mangoes produce a thicker batter than apples do (the result is much more watery).  Dehydrating time will change depending upon which fruit / fruit combo you use.

If you do not have a dehydrator, you can make the roll-ups in the oven by following Catherine McCord’s method on her blog, Weelicious (Click HERE).

.

Please note that I am a Vitamix affiliate…and I wholeheartedly endorse the use of their wonderful product.


13 Comments

Filed under Cooked Fruit, Dessert, Fruit, Gluten Free, Kid Friendly, Raw, Recipes, Snacks, Vegan, Vegetarian

DESSERT HUMMUS – PB Chocolate Chip

About a week ago my daughter’s teacher and I were chatting when she mentioned that another teacher at the school just made a sweet hummus that she said was really good.  She found the recipe on Chocolate Covered Katie whose blog I adore.

I decided to give the sweet hummus thing a whirl and came-up with a recipe that I am a bit obsessed with.  I have seriously made 5 batches in the last 5 days (some of which was given away, but not much)!

This hummus is free of added salt, oil (just natural peanut butter), and refined sugar.  The dates add such a nice sweetness to the hummus without leaving you with the crash and burn that follows a traditional sugar rush.  Thanks to the fiber and nutrients in the dates your body will be happy.

While this may taste like cookie dough, you won’t be able to eat the whole bowl because the chickpeas will fill you up so quickly.  My favorite ways to eat the hummus are with either a banana, some sliced apples, or celery spears.

This recipe is dedicated to you Nicole!  Thanks for the inspiration.

INGREDIENTS

8 Medjool Dates, soaked (I buy mine at Costco)
Soaking water
15 oz. can Eden Organics Salt-Free Garbanzo Beans (aka chickpeas)
1/3 cup organic peanut butter
1 1/2 tsp. alcohol-free vanilla
2-3 Tbs. Enjoy Life mini-chocolate chips (optional)
 

Pit the dates and put them into a bowl.  Press the dates down into the bowl and cover them with filtered water until they are JUST covered (it is ok if a tiny bit of the dates peak out through the water).  Soak the dates in the water for at least 30 minutes.

Once the dates have soaked, place all of the ingredients (except the chocolate chips) in the food processor and process for 1-2 minutes.  Stop and scrape down the sides with a rubber spatula.  Repeat this process a total of three times until the hummus is very smooth.  I usually use this time to catch-up on dishes or mail… multi-tasking rules!  Note that the hummus will be thinner than you are used to since it is warm from the processing.  Rest assured the hummus will firm-up a bit once refrigerated.

Pour the hummus into a bowl and mix in the chocolate chips if so desired.  That’s it.  You are done.  Place the completed hummus in the fridge to firm-up.  Personally I always have a little serving of the hummus at this point with some apple or banana since I don’t have the patience to wait for it to set.

I also prefer to make the hummus without the chocolate chips and keep the plain version in the fridge since I don’t like to have chocolate chips in my dessert hummus if I will be eating it with sliced apples.  In general I prefer the hummus without the chocolate chips, so I just mix the chocolate chips in for the kids at serving time.

For a printable version of this recipe click here.

39 Comments

Filed under Appetizers, Beans/Legumes, Dessert, Dip, Gluten Free, Kid Friendly, Quick, Recipes, Snacks, Vegan, Vegetarian

APPLE CARROT SWEET SLAW

I am totally going to toot my own horn when it comes to this one… fast, simple, healthy, and soooo tasty!  I have been in love with this slaw and have been eating A LOT of it.  This makes the perfect snack or after meal dessert.  I really love the flavor combination and the fact that it is all WHOLE food.

I did not include measurements for the ingredients because this is not a recipe that needs exact measurements.  Simply make as much as you would like.  The slaw does keep well in the fridge as long as you do not add the raisins or walnuts until you are ready to serve / eat it (or they will become soggy).

I used equal parts apple and carrot.

INGREDIENTS
 
shredded apple 
shredded carrot
fresh orange juice
cinnamon to taste (I use THIS cinnamon)
raisins
chopped walnuts for garnish (I buy my walnuts HERE)
 

Put the shredded apple and carrot in a bowl and mix well.  Squeeze the orange juice onto the apple and carrot, sprinkle with cinnamon to taste and mix to incorporate.

If you plan on serving the slaw immediately, go ahead and mix in the raisins and chopped walnut.  Otherwise wait until you are ready to serve the slaw and add them at that point or allow people to top their slaw themselves.

For a printable version of this recipe click here.

7 Comments

Filed under Breakfast, Dessert, Fruit, Gluten Free, Kid Friendly, Quick, Raw, Recipes, Snacks, Vegan, Vegetarian

GUEST BLOG – Crunchy and Healthy Jalapeno Poppers by Veg Obsession

Another blog that I frequent is Veg Obsession.  Isobelle created the site as a means to share the delicious vegan recipes she makes with her friends and family.  Through Veg Obsession Isobelle wants to show people that delicious, mindful, and compassionate eating is easy to achieve.  One of the main reasons Isobelle is vegan is for her daughter and her future…it is clear that she is a very committed mommy!

While cruising through Isobelle’s site I came across her recipe for Crunchy and Healthy Jalapeno Poppers.  I contacted her and she has graciously agreed to share the recipe on Veggie Grettie.  Traditionally jalapeno poppers are laden since they are loaded with cheese and fried.  Isobelle fixed that problem by filling the jalapenos with hummus and baking them.

Enjoy this healthy variation!

My husband and I love spicy!  We have a jalapeno plant in the back yard that has been producing plenty of peppers.  And, of course, all of them are used.  I used to make jalapeno poppers with Toffuti “cream cheese” (which are a lot healthier than the traditional fried poppers with the greasy/fatty real cheese).  But, my husband suggested trying to make it even healthier.  So, he gave me the idea of hummus in the jalapeno, and I am so glad he did, because this is wonderful and delicious!

*Jalapeno peppers are very good for you.  It helps cure headaches, congestion, and it even helps fight off cancer!

*Garbanzo beans are also super healthy!

Ingredients:

Directions:

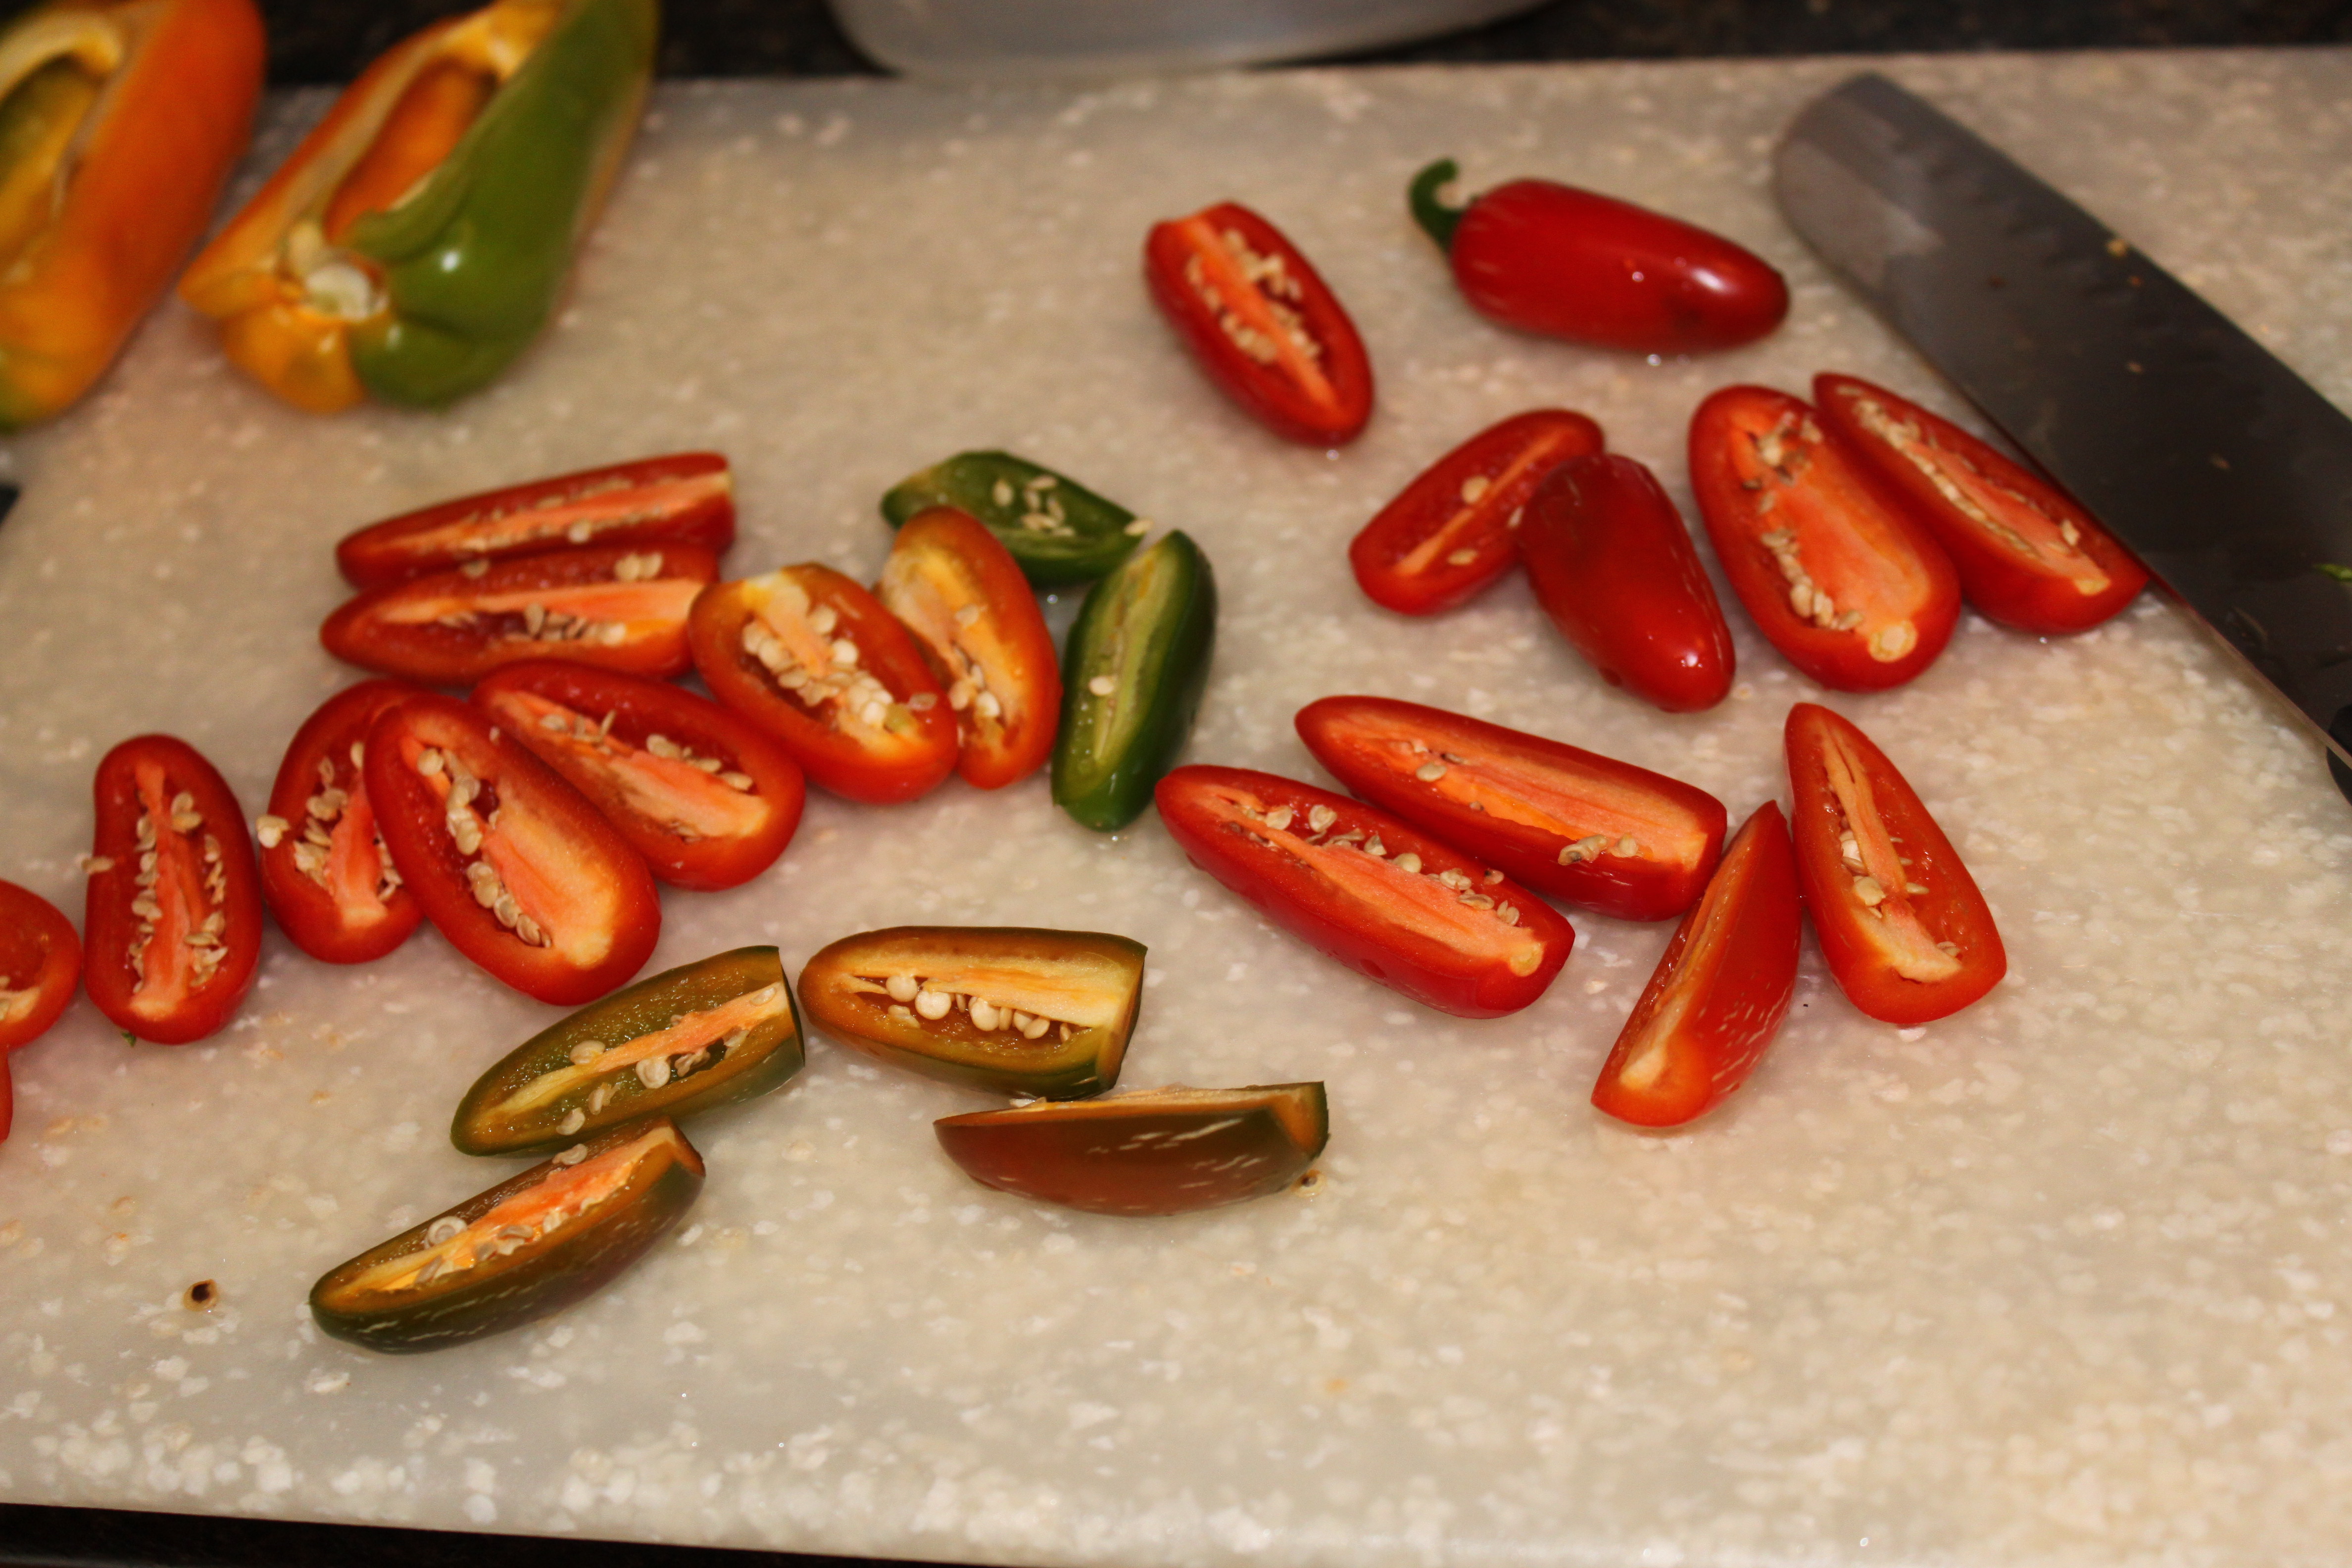
Slice the top off the jalapenos, cut them in half (lengthwise), remove seeds and placenta.

Note: if you like REALLY spicy poppers, you can add the seeds and jalapeno placenta to your hummus.

Spoon hummus into jalapenos.

Dip the jalapeno in the unsweetened nut milk (almond milk).  Then, roll the jalapeno into the whole wheat (or gluten free) flour.  Dip it into the nut milk again.  Then, roll into the panko bread crumbs.  Place onto a slightly greased cookie sheet and spray a little bit of olive oil onto the poppers (just a little bit!).

Bake for 25 minutes and then enjoy!

For a printable version of this recipe click here.

3 Comments

Filed under Appetizers, Guest Blog, Recipes, Sides, Snacks, Vegan, Vegetables, Vegetarian

QUICK SNACK – Chili Apple Slices

The other day my son and I were running errands and after he helped me unload the car he asked if he could have a snack.  I asked him what he wanted and he mentioned that when he was hanging-out at a friend’s house his mom made a snack that he really liked…apples with lemon and chili.

I love learning about snacks that other cultures serve.  I was really excited to try this!  I sliced the apples, squeezed some Meyer lemon on top, and sprinkled them with chili powder (by Frontier).  I really loved the combination of sweet from the apples, sour from the lemon, and spicy from the chili powder (my son LOVES spicy food just like both of his grandfathers).

After we finished the plate we decided to try it again with Via Nueva’s Chili con Limon…brilliant!

Let me know what some of your favorite ethnic quick snacks are…maybe they will even be featured on Veggie Grettie.

5 Comments

Filed under Gluten Free, Quick, Raw, Recipes, Snacks, Vegan, Vegetarian

FLUFFY PEANUT BUTTER DIP

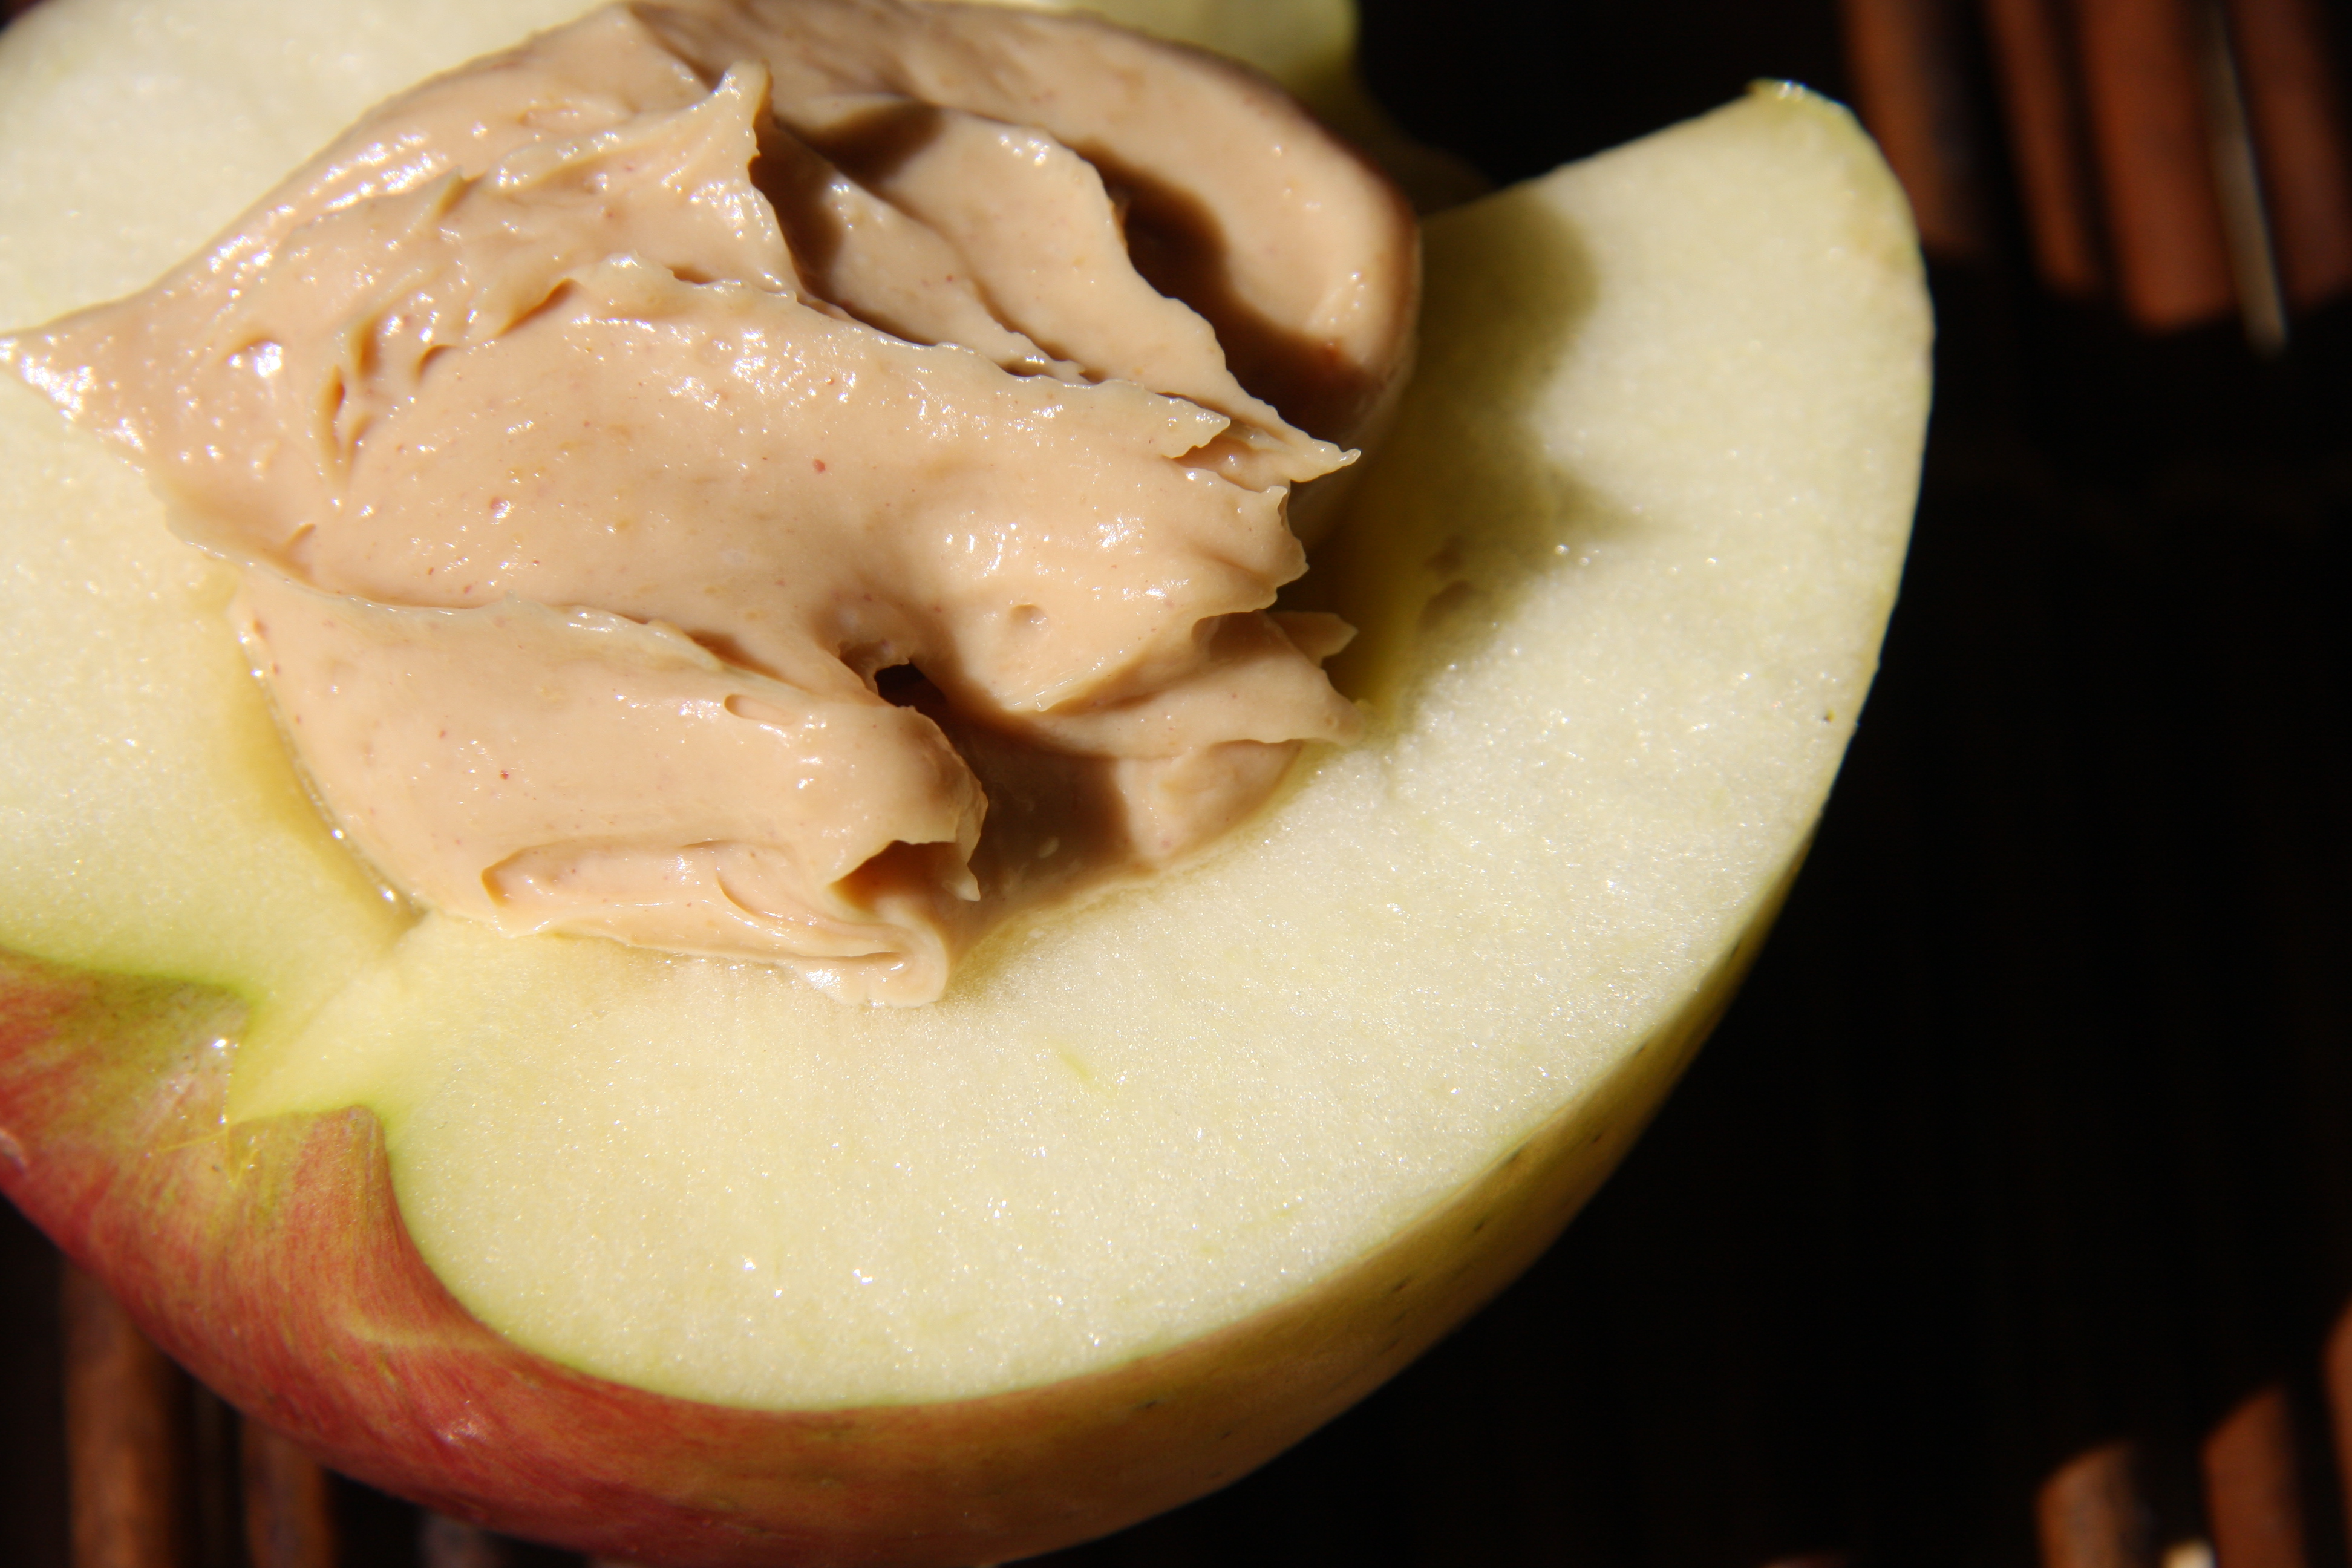
I think by now you can tell that I have a real love affair with peanut butter.  The only problem is that peanut butter is a bit high in fat (as are all nut butters).  We can totally enjoy nut butters, but we need to show some restraint and not eat them with abandon.  In an attempt to up my intake volume of PB without upping my fat intake, I made this dip.  I LOVE peanut butter with apples and for years have been cutting my apples in half and filling the hole with PB, but only 2 Tbs or so total.  With this dip I can make myself a nice little bowl of it, slice my apples, and dip to my heart’s content.

INGREDIENTS – Makes 4-6 servings

½ cup organic peanut butter

½ cup So Delicious Vanilla coconut milk yogurt

1-2 packets stevia

~

Mix the peanut butter and yogurt together until smooth.  Add the stevia (one packet at a time, so you can sweeten to taste) and mix.

*Also tastes great with bananas!

10 Comments

Filed under Dessert, Dip, Gluten Free, Recipes, Snacks

PB BANANA BITES

Snacks don’t need to be complicated.  One day last week my kids came home from school and were greeted by the snack you see pictured above.  Both my son and daughter loved it!  They were so excited by how “fancy” these PB Banana Bites were and I was so excited about how easy it was to prepare.

Simply spoon some peanut butter (approx 2 Tbs. per large banana) into a piping bag and pipe away.  I find that this is a less messy and much less time consuming way to make this snack than my old method…spooning PB onto each piece of banana.

My kids also love to eat this snack with almond and cashew butter.  A super special decadent treat for them is to make this snack with Justin’s line of chocolate nut butters…yum!  I love to use their Chocolate Hazelnut Butter as a vegan Nutella substitute.

For more info on Justin’s product line click here.

Justin’s image courtesy of sixtimestheyum.com

10 Comments

Filed under Gluten Free, Kid Friendly, Nuts, Product Reviews, Raw, Recipes, Snacks, Vegan, Vegetarian

APPLE PIE INFUSED PECANS

Apple Pie Infused Pecans

Apple Pie Infused Pecans

If you have ever soaked nuts in an attempt to destroy their enzyme inhibitors and increase their digestibility, then I am sure you have noticed that they swell to twice their original size.  It was this observation that inspired my latest nut recipe.  I thought, if nuts are able to absorb such vast quantities of water, then surely they are able to absorb any liquid…and boy did they!  The result is subtle, but oh so good.

INGREDIENTS

2 cups pecans

3 cups fresh squeezed apple juice

1 cup crock pot applesauce OR apple juice concentrate*

1 Tbs. honey or agave syrup

1 tsp cinnamon

½ tsp allspice

*to make this recipe completely raw, you can either eliminate the applesauce or add date paste for sweetness

~

Blend the fresh squeezed apple juice, applesauce, honey, cinnamon, and allspice in a high speed blender.

Blend in Your Vitamix

Blend in Your Vitamix

Add Spices and Sweetener into the Blender

Add Spices and Sweetener into the Blender

Place the pecans in a large Glasslock™ container and cover with the apple juice mixture.  Allow the pecans to soak overnight in the refrigerator.

Pour Spiced Juice Mixture Over Pecans

Pour Spiced Juice Mixture Over Pecans

Ready for the Fridge

Ready for the Fridge

In the morning pour the pecans into a colander and rinse them.

Pour Pecans and Juice Mixture into a Colander

Pour Pecans and Juice Mixture into a Colander

Rinse the Soaked Pecans

Rinse the Soaked Pecans

Place the soaked pecans on a mesh dehydrator tray (not a Teflex sheet) and dehydrate at 115 ° for 6-8 hours.  To ease clean-up, I place a Teflex sheet on the tray below the pecans so it can catch any drips.

Place Pecans on Mesh Tray

Place Pecans on Mesh TrayDehydrate in Excalibur...Tray Below Has a Teflex Sheet

These pecans are so good on their own.  I keep mine in the freezer and eat them straight out of the freezer (they are extra crunchy that way).  The Apple Pie Infused Pecans would also be a great trail mix ingredient!


Apple Pie Infused Pecans

Apple Pie Infused Pecans

For a printable version of this recipe click here.

4 Comments

Filed under Gluten Free, Kid Friendly, Nuts, Raw, Recipes, Sides, Snacks, Vegan, Vegetarian